If you’re looking to learn how to draw a volleyball, this guide will help you capture the essential details of this iconic sports ball. A volleyball has a unique pattern of curved segments that are often coloured in contrasting shades, adding to its visual appeal.
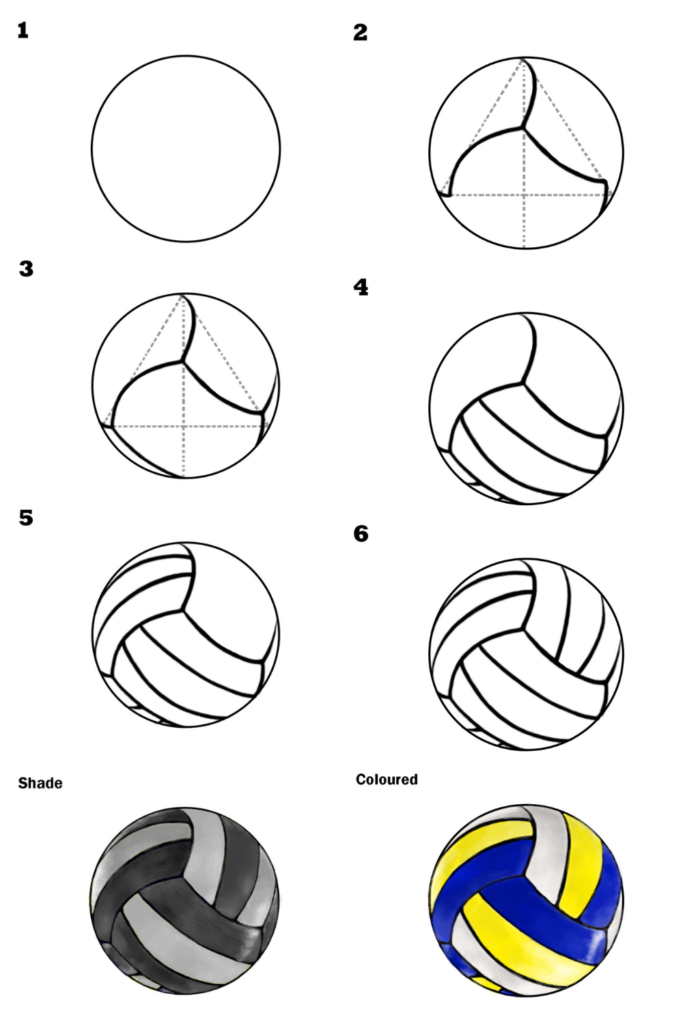
As shown in the image, the alternating sections of yellow, blue, and white create a vibrant design that is both striking and easy to recognize. This tutorial is designed for all skill levels, so whether you’re just starting or want to refine your drawing skills. By focusing on the shape and placement of the different sections, you’ll be able to recreate a volleyball that looks realistic and accurate.
Let start
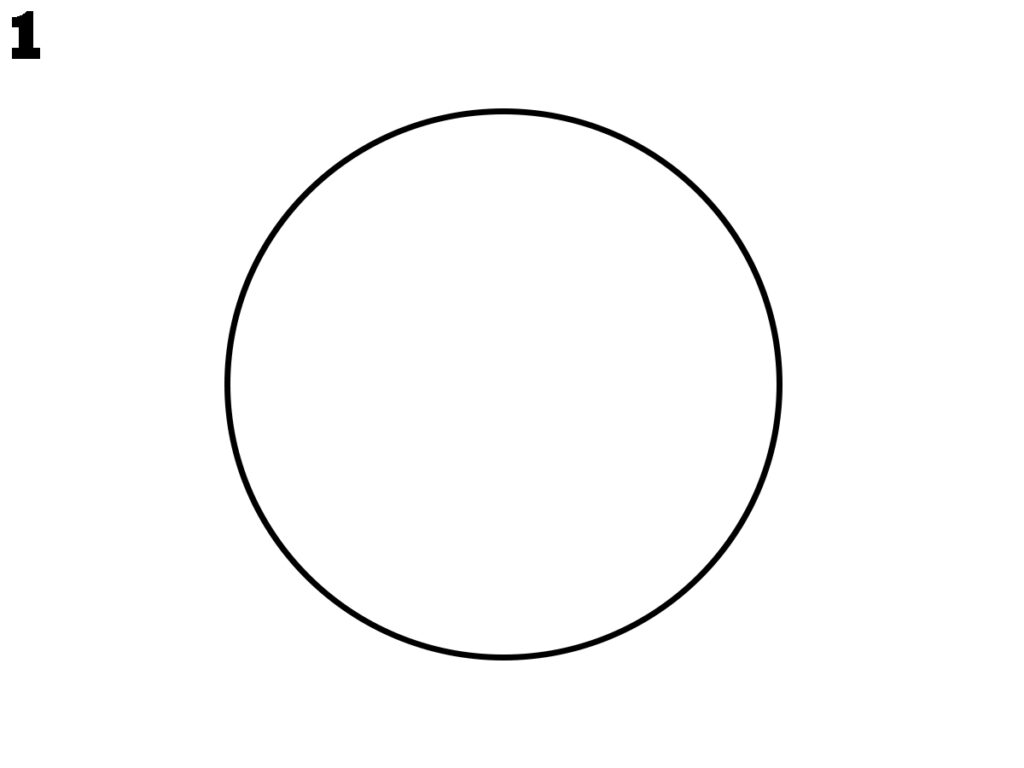
Step 1: Start by drawing a perfect circle for the volleyball. This will be the main shape of the ball. Make sure the lines are smooth and even. Use a compass if you need help getting it round. This circle forms the foundation for your volleyball drawing.
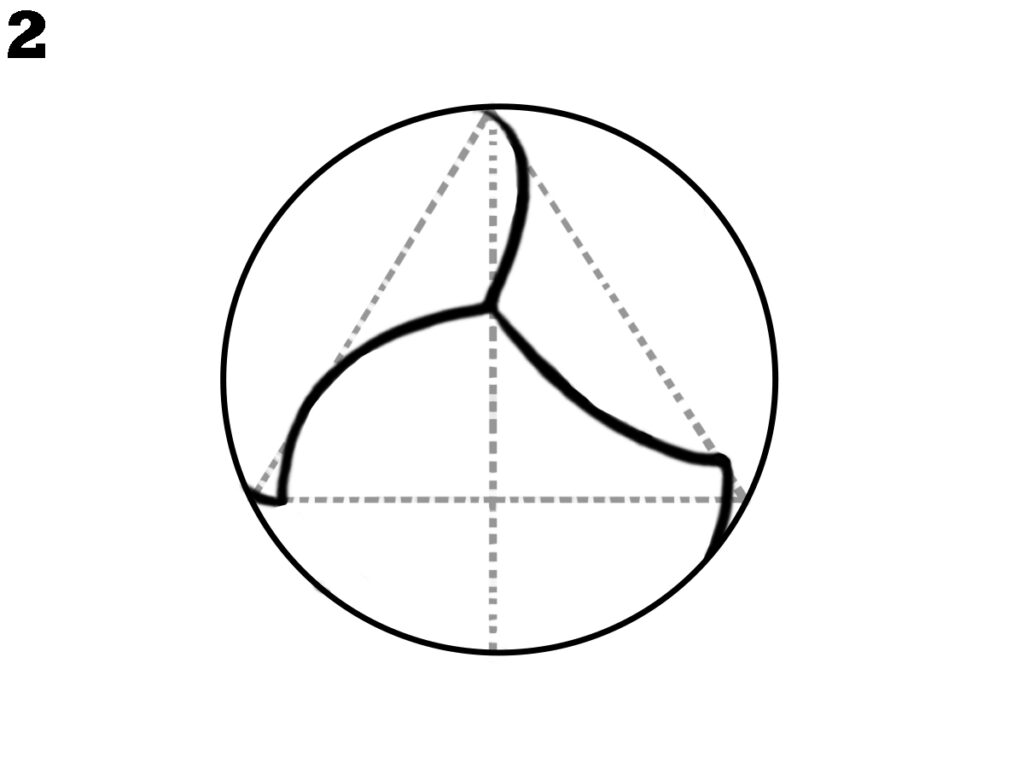
Step 2: Inside the circle, draw three curved lines connecting the edges. These lines form the main panels of the volleyball. Space them evenly, creating a pattern that looks similar to a Y shape. These lines help give the volleyball its signature look and structure.
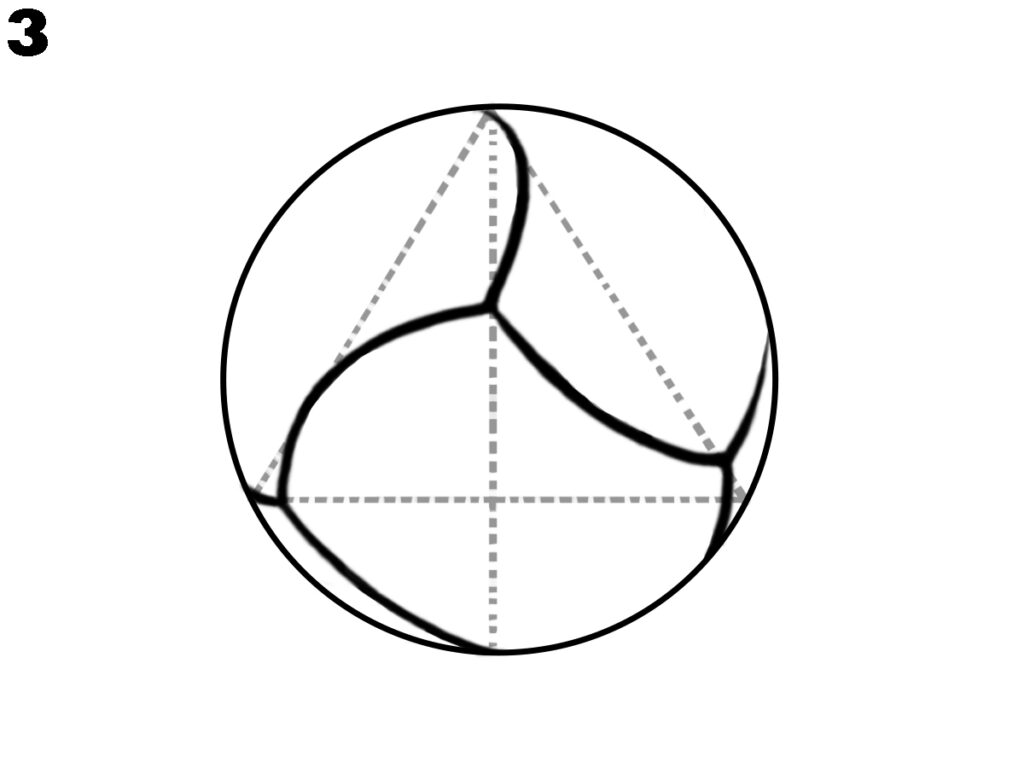
Step 3: Add another curved line on the bottom left panel, completing the Y-shaped sections. Make sure the lines are smooth and connect to the edges neatly. These additional lines give the volleyball its familiar segmented look, making it appear realistic.

Step 4: Draw curved lines within the circle, creating distinct panel sections. Ensure the lines follow the round shape of the volleyball to give it depth. These curved sections mimic the stitching on a real volleyball, making the design look realistic. Keep the lines clean and smooth for a polished effect.
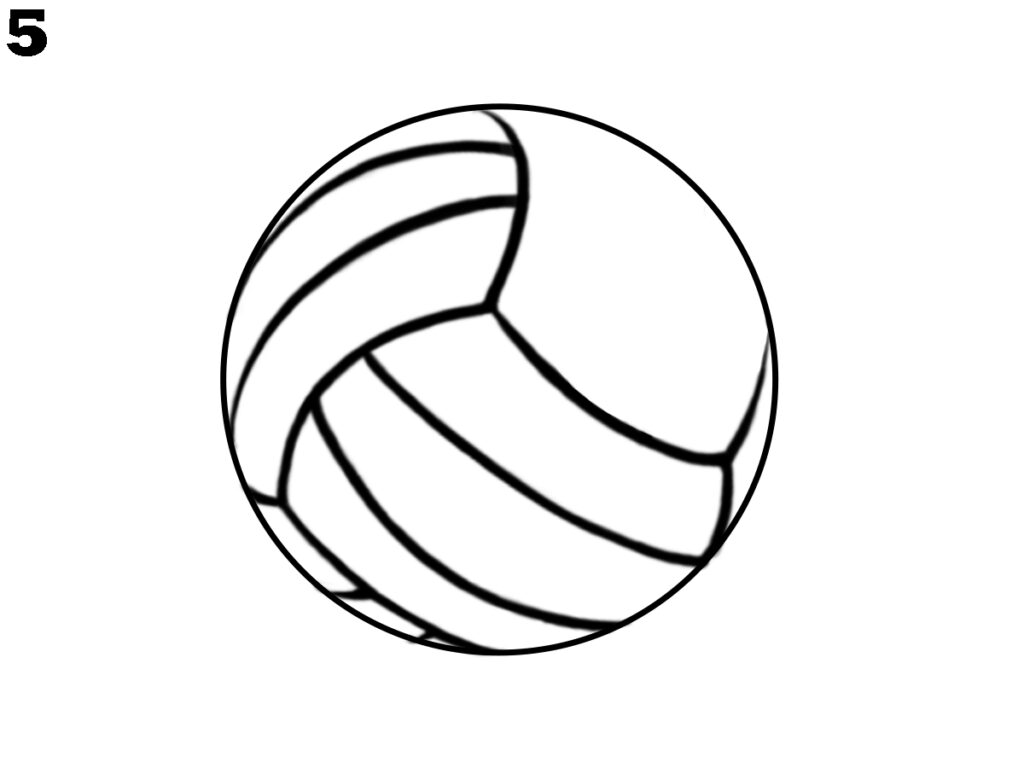
Step 5: Add extra curved lines to the upper section of the volleyball to complete the panel details. These lines should mirror the existing curves for consistency. Make sure the sections are evenly spaced to maintain the ball’s symmetry. This step enhances the realistic look of the volleyball.
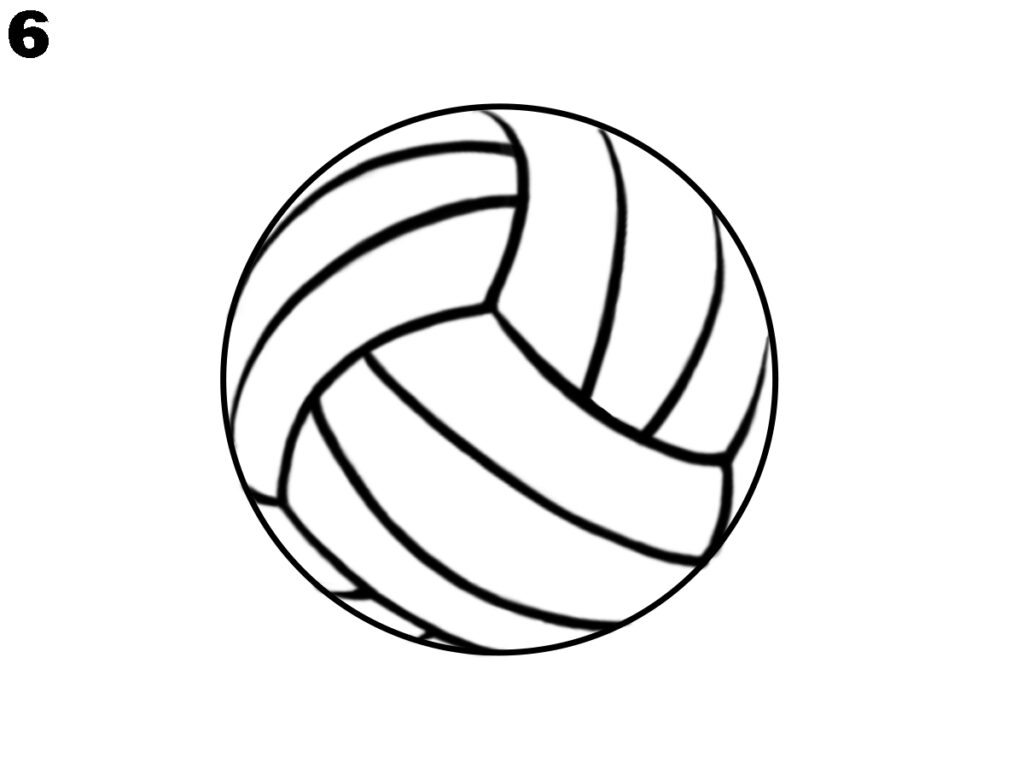
Step 6: Now complete the volleyball by drawing all the remaining curved lines, ensuring every panel is distinct. Make any necessary adjustments to refine the shape and keep the proportions balanced. The smooth, clean lines should highlight the spherical form, giving the volleyball a polished appearance.
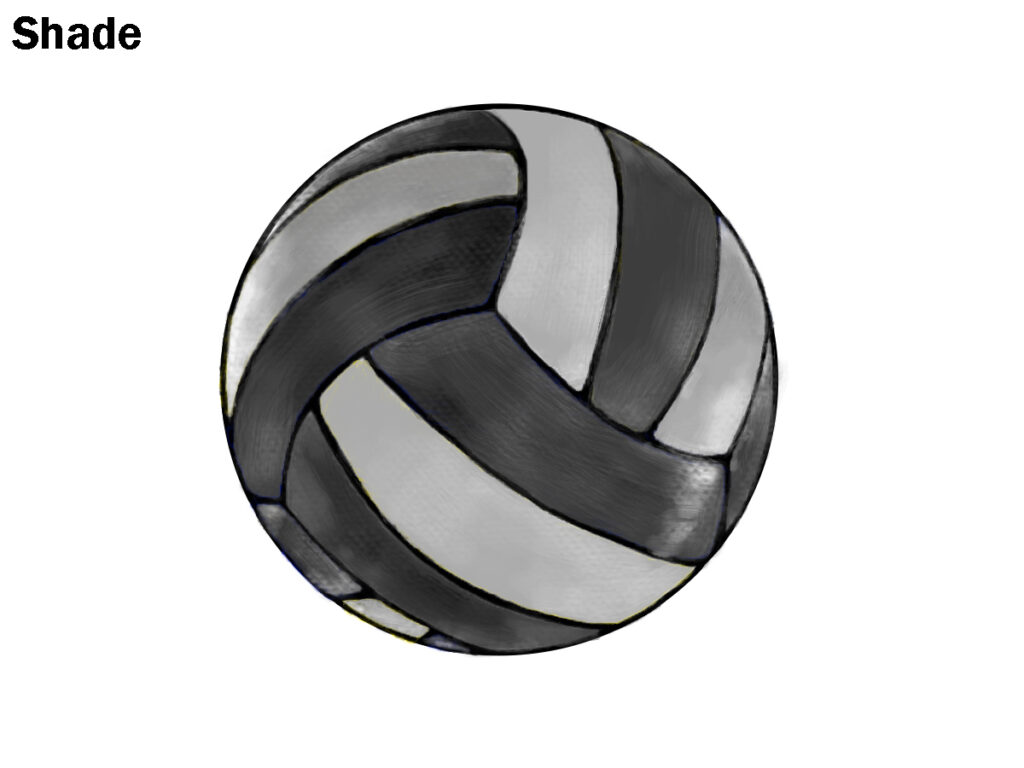
Shading: In this step, focus on shading each section of the volleyball to bring out its 3D shape. Use tones like darkening and lightening with the pencil to create depth, just like in the image. Notice how the darker areas are shaded near the edges, while the lighter sections highlight the rounded surface of the ball. This will give your drawing a more realistic and professional look!
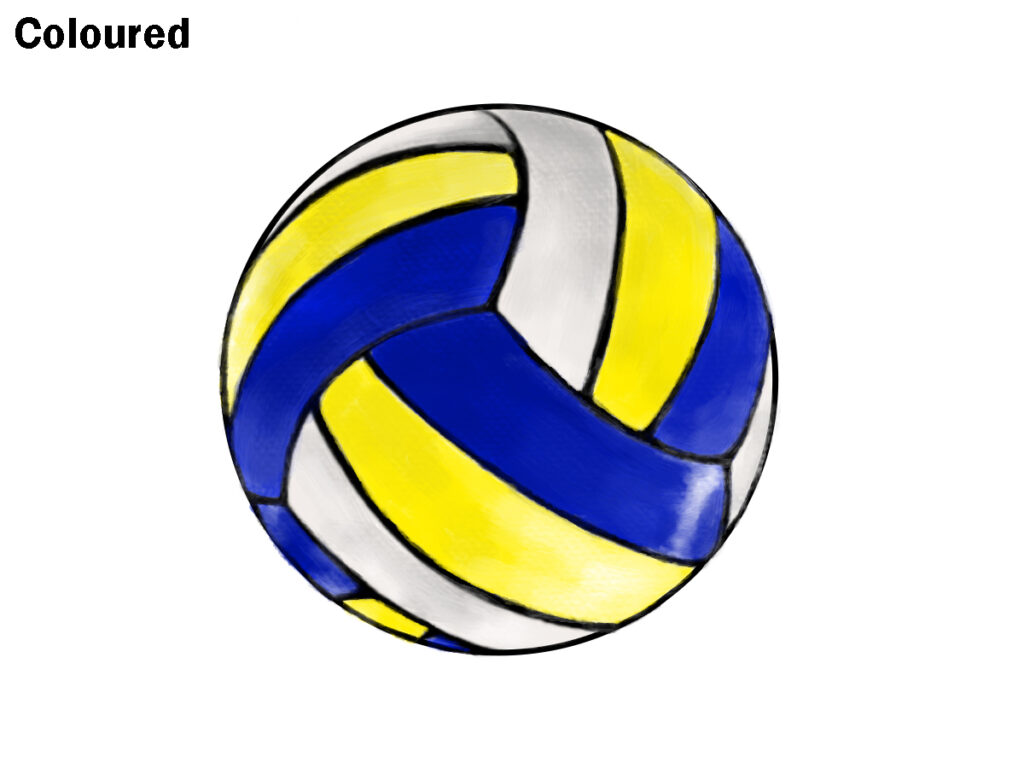
Coloured: colour the alternating panels of the ball using yellow, blue, and white, as shown. Ensure the colours are bold and distinct for a vibrant, realistic look. This step adds the final touches to make the volleyball visually appealing.
Conclusion
Now that you’ve completed the steps, your volleyball should closely resemble the one in the image, with coloured sections and a smooth, rounded shape. This process highlights the importance of understanding how simple shapes and patterns can combine to form a more complex image. Drawing a volleyball is a great exercise in mastering curves and symmetry, which are key elements in many forms. As you practice, you’ll notice improvements in your ability to capture the details and proportions that make the volleyball drawing easy and unique. Keep refining your skills, and you’ll find that drawing becomes even more handle.

